Chapter 5. Working With Layers

5.1. Using the Layer Stack
Showing and Hiding layers
5.2. Using the Layer Info Window
5.3. Filtering on Layers Using the Filter Box
5.4. Adding and Removing Layers
Adding New Layers
Removing Layers
5.5. Adding a New Layer Based on a Data Selection
5.6. Merging Layers
Merging Layers
5.7. Masking Data for Analysis Layers
Masking an analysis layer
Removing an analysis layer mask
5.8. Setting Layer Projection
5.8.1. Reprojecting Layers
5.9. Referenced Data
Bringing External data into the Mapset
Flattening a Mapset

5.1. Using the Layer Stack

The Layer Stack appears on the left side of the Cartographica Window. This view shows all of the different layers of data that appear in the map.

The Layer Stack

Figure 5.1. The Layer Stack


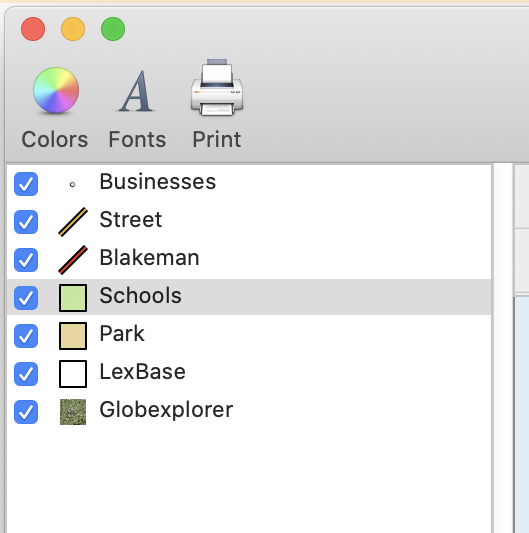
The Layer Stack defines what appears in the Map View and Data View.

You can drag items to re-order them in the layer stack. Top is "on top" if you were to think of it as a layer cake or a set of papers layered on top of each other. Often, if you are using a raster layer, you'll drag that to the bottom so that all the vector content sits "above" it.

You can also drop a layer on another layer to copy styles from the dropped layer to the dropped-on layer. Although it might seem strange, you can also drop a layer on another layer of a different type. This allows for an easy way to copy the color schemes.

Showing and Hiding layers

  • You can choose which layers are shown on the map by doing one of the following:

    • Toggling the box next to the layer name in the layer stack

    • Choose Layer  >  Hide Layer or Layer  >  Show Layer

    When you do hide a layer the features contained in this layer are no longer seen on the Map.