When using an analysis layer (for now only created by the Kernel Density Map), often the analysis layer has a significant amount of data falling "outside" of the area of interest. To help remedy this, Cartographica can constrain the bounds of the analysis layer to the area of a polygon layer.
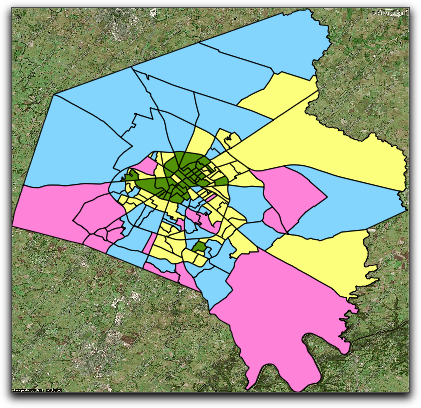
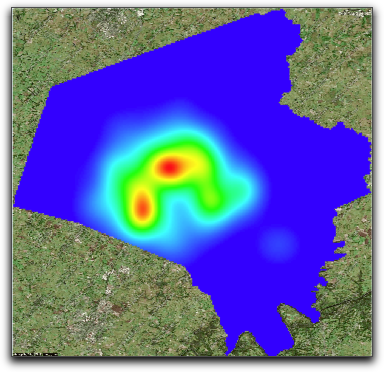
Below are examples of an analysis layer, the mask to be applied, and the resultant masked analysis layer. In this case, we use a Kernel Density Map and have a satellite map in the background as illustration.
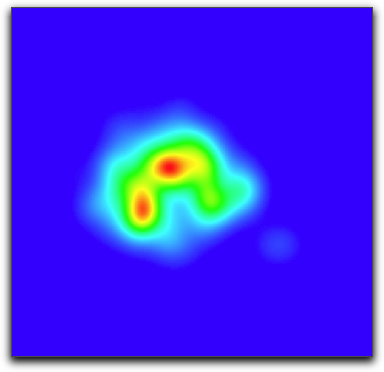
Masking an analysis layer
In order to mask an analysis layer, you need to have a polygon layer that specifies the area you want included in the analysis. You can either use an existing polygon layer, or create one manually or using tools such as Cartographica's >
Select the analysis layer in the layer stack by clicking on it
Select the polygon layer in the layer stack by holding the option key while clicking on it
Choose >
After a few seconds, the analysis layer will be masked by the polygon layer you selected.
![[Note]](Graphics/note.svg)
The mask layer will work even if the mask layer is hidden, so you can add a layer to act as the mask, assign it to the analysis layer, and then hide the mask layer without losing the mask effect, but without having whatever data is in that layer displayed.