One of the benefits of having a desktop GIS is the ability to output data in a number of formats. Cartographica has extensive export capabilities to provide for just this type of operation. Generally, Cartographica can export entire Maps or just individual layers (or selected data within those layers). Which option is right for you depends on what you're trying to achieve.
Cartographica can export Maps in a number of formats including (but not limited to):
ESRI Shapefile
GML
KML
MapInfo TAB
MapInfo MIF
Atlas BNA
Adobe Illustrator
This will export the entire map either as a single file (if the format allows) or as one file per layer (if the format only handles single layers). You can also choose to not export invisible layers, to reduce file size and complexity.
To export an entire map
Choose >
Select the export format from the Export Format menu
Check Export Visible Layers Only to limit the exported data to layers that are currently visible.
Choose a file name for the export and click
Warnings will show up in the export window to describe certain aspects of the exported data:
CRS can't be saved, map will be re-projected to native CRS : The target format doesn't support multiple CRS's and the CRS that you are currently using doesn't match it's format, so Cartographica will transform the data appropriately before writing it out.
Format doesn't support multiple geometries: A file will be created for each layer
Data fields won't be importable: data tables can't be exported and won't be importable as data into other programs.
Some geometries won't be accurate: the selected file format doesn't have accurate ways to save all geometric types, so this format cannot be used to import data later. Cartographica will produce output that is as close as possible to what you see on the map display.
CRS can't be saved: the file format is device-independent and there is no place to indicate what format the data is in.
Format does not support layers: Groups of features of specific types will be indistinguishable from other groups. There is support for multiple kinds of features, but not layers. As such, a single file will be created, but all polygons will be in a single polygon store, same for points and lines.
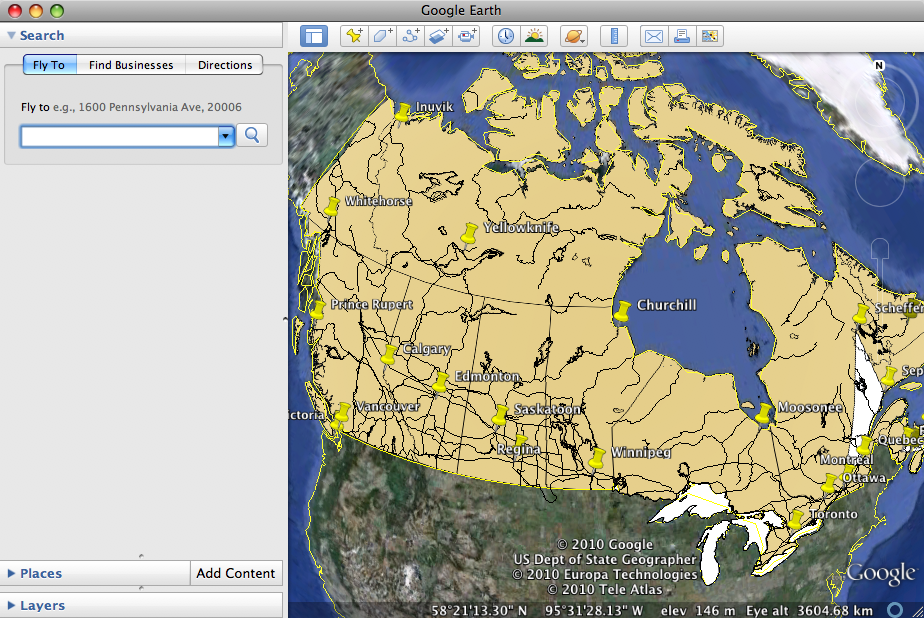
When exporting to KML, all data is exported as data in the layers. However, much of that data is not understood by Google Maps or Google Earth. In the future, it is possible that other programs will understand it. Cartographica exports the feature names based on either the default feature name, the label, or the feature ID. The data that shows up when you click on a feature in Google Earth or Google Maps will be either all data or just the data selected in the Layer Info Pop-up box. Cartographica exports all layers in their current hidden/shown state unless Export Visible Layers Only is checked.
Here is a figure showing our example map and data of Canada exported to KML and then opened in Google Earth. You can see the convex hull in eastern Canada as well as all of the roads that existed in the original map in Cartographica.
![[Note]](Graphics/note.svg)
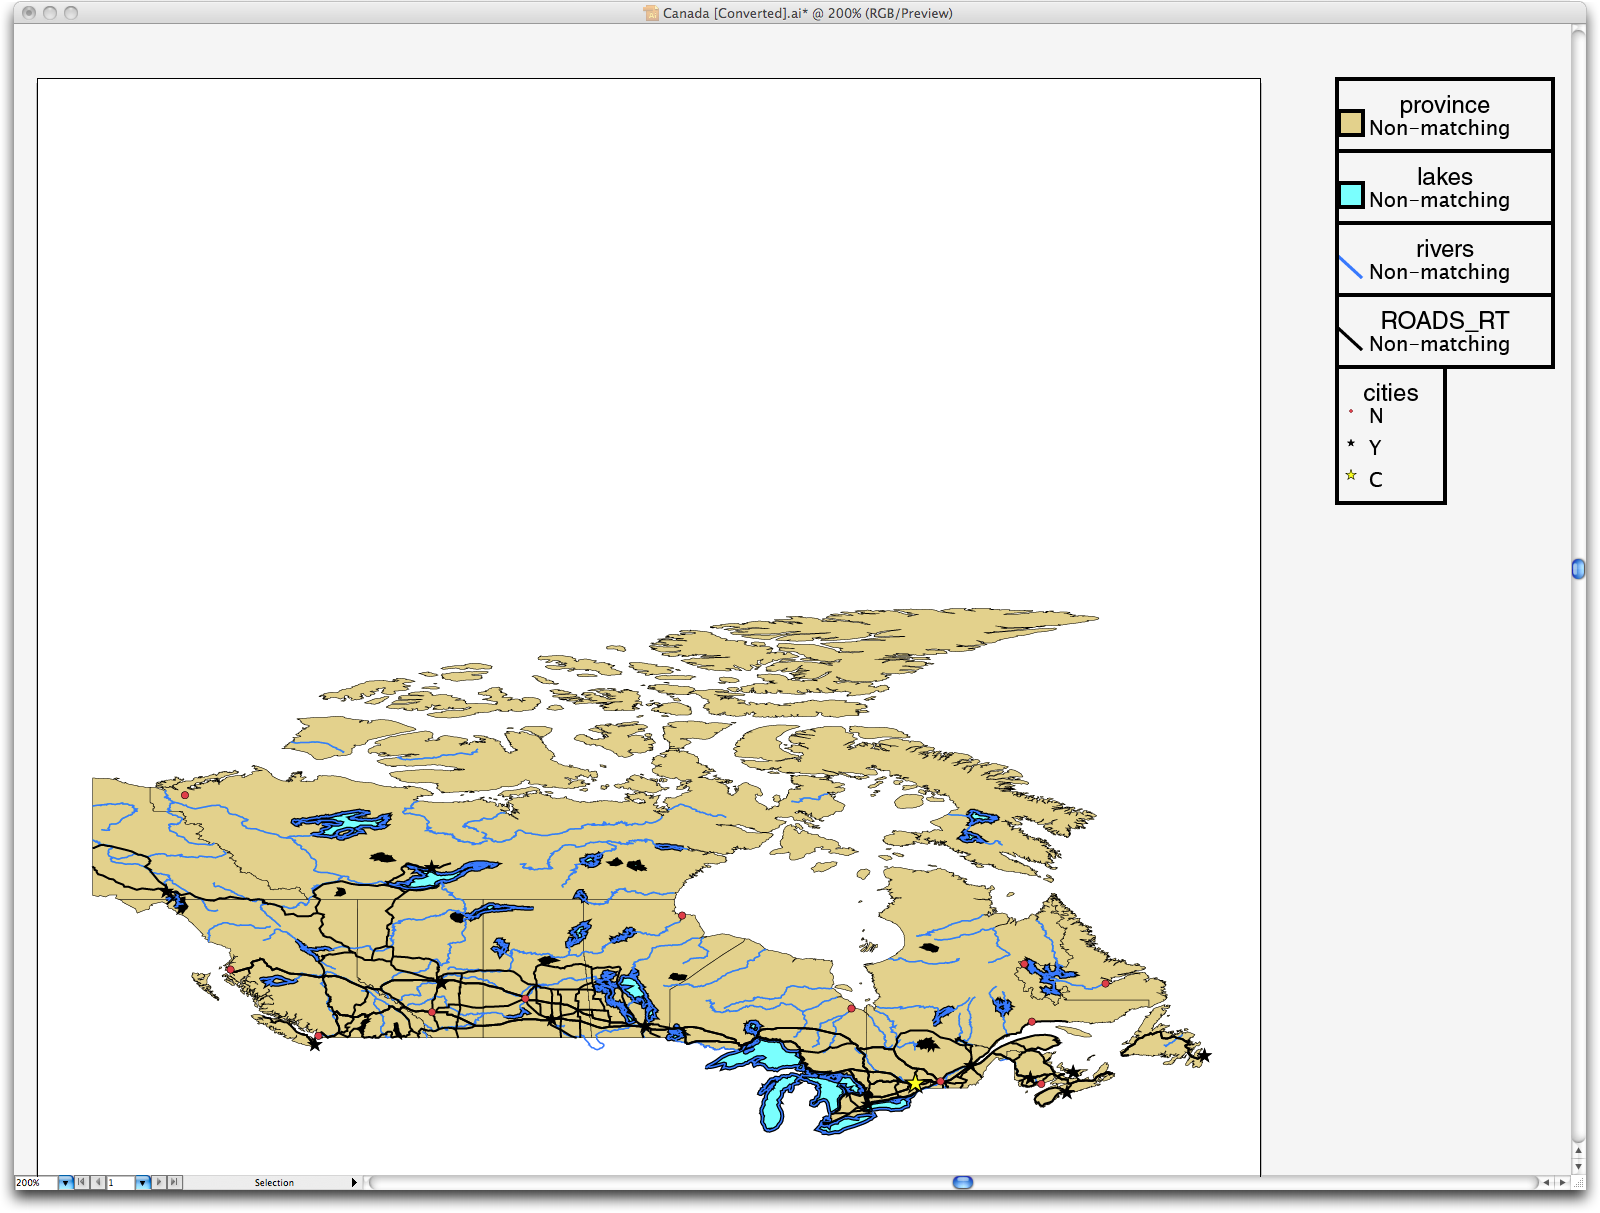
Exporting data to Adobe Illustrator is very similar to exporting to KML. All of the data is exported, but Illustrator can't always see it. The Features are named using the same technique as in KML above.
Cartographica exports each layer in the map to a separate layer in the Adobe Illustrator file. If the layer has labels, a separate Illustrator layer is exported just for the labels (allowing you to toggle these labels on or off as necessary after exporting). Finally, Cartographica exports a legend for each layer in the map, providing the basic style key for designers who use the Illustrator files.
When exporting to Illustrator, Cartographica also has the ability to embed the data for the layers into the Illustrator file, which is useful when working with third-party plugins, such as Avenza MAPublisher. ClueTrust and Avenza have been working to make sure that maps exported from Cartographica and imported into Illustrator when using MAPublisher are the easy to manipulate and full of rich data. As such, when you check the Include data in export box while exporting to Illustrator, georeferencing, CRS (Projection) and column data is exported along with the feature data and the styles.
Here is an illustration of a map of Canada exported and then opened in Adobe Illustrator CS5.